The technique used was partially made up on the fly, and consisted of the following:
Prep Work
- Seal the ends of the phenolic with thin CA glue (edges and inside wall)
- Sand the outside of the tube with a palm sander with 100 grit sandpaper
- Mark the reference lines on the tube for where the fiberglass will be aligned at the start, and where it is expected to wrap around to (about 2" overlap was used)
- Mark the equivalent two lines 180° apart on the opposite side of the tube (for the second layer of fiberglass later)
- Prepare the fixture plugs with non-stick liner (tape liner in place on plug)
- Line the inside of the tube ends with 2" wide blue tape (to protect the tube from any epoxy leaking in)
- Mount the tube with plugs onto the fixture.
- Clamp the fixture to the edge of the table
- Mark the rectangle on the second layer of Mylar that is 1" oversize in length (47") allowing 0.5" overhang on both ends, and 2" longer than the circumference (Pi * 7.7" = ~26.25") for overlap.
Actual Composites Work
- Lay down the fiberglass on top of a piece of Mylar, paying attention to keep the fibers aligned and not warped
- Wet out the oversize rectangle of fiberglass cloth with West Systems 205 (fast) resin. Leave it a bit resin-rich
- Lay down a second piece of Mylar on top of the wet-out cloth (with the exact rectangle pre-marked)
- Cut the sandwich of Mylar-wet fiberglass-Mylar out on the pre-marked lines (scissors work well)
- Peel the outer Mylar layer off
- Pick up the rectangle of fiberglass and bottom layer of Mylar together, and align one edge to the start reference line on the tube. Keep the Mylar on for now (facing out, away from the tube)
- Ensure cloth is centered side-to-side and straight along the reference line
- Begin wrapping it slowly, allowing the loose end of cloth to hang vertically
- Work from the center outwards, and in diagonally down to progress the adhesion to the tube. (We found that dry paper towels worked well on the Mylar to "burnish" the cloth down.)
- Once it is wrapped all the way around, peel off the Mylar and work out any wrinkles. At this point, we didn't have any ripples or wrinkles, and it was fairly easy to manage the cloth.
- We applied a pre-cut piece of Mylar to the outside of the applied fiberglass to try to achieve a smooth surface finish.
- This went really well at first, but near the end of the circumference, we found that it was inducing wrinkles. It took a few iterations of peeling back several inches, re-stretching the cloth and reapplying, to mitigate the rippling. In the end, we couldn't get rid of all of the ripples and wrinkles. We taped the outer Mylar in place for keeping tension, and that's how it sat overnight for curing.
Sanding the epoxy "patches" worked well. I used a sanding block with what felt like 220 or maybe 180 grit sandpaper. Sanding also reveals all the ripples and high spots. I'm not concerned with these at this stage, since it will get another layer of 6 oz./sq.yard cloth, and a final layer of Easyglas sock. The Easyglas sock is where most of the surface finishing work will go.
Changes for Next Time
- The main thing I want to do differently is to not bother adding the Mylar sheet on as the final step. I would expect to be able to get a wrinkle/ripple free finish.
- Brush some epoxy into the spiral groove of the tube prior to applying the fiberglass, to help promote adhesion
Physical Results

It can be seen that the layer of fiberglass increased the wall thickness by an average of 0.014", and added 303.5 grams to the tube. For a more useful weight figure, that's about 6.6 grams per inch of tube length.
Photos
 |
| Tube Sanded and Marked with Reference Lines. Plug with Release Liner Taped in Place. |
 |
| Completed Layup. (Mylar still in Place) |
 |
| Showing the Worst of the Wrinkles (Near the Reflections) |
 |
| Light Sanding Reveals Relative High Spots (the Lighter Areas) |
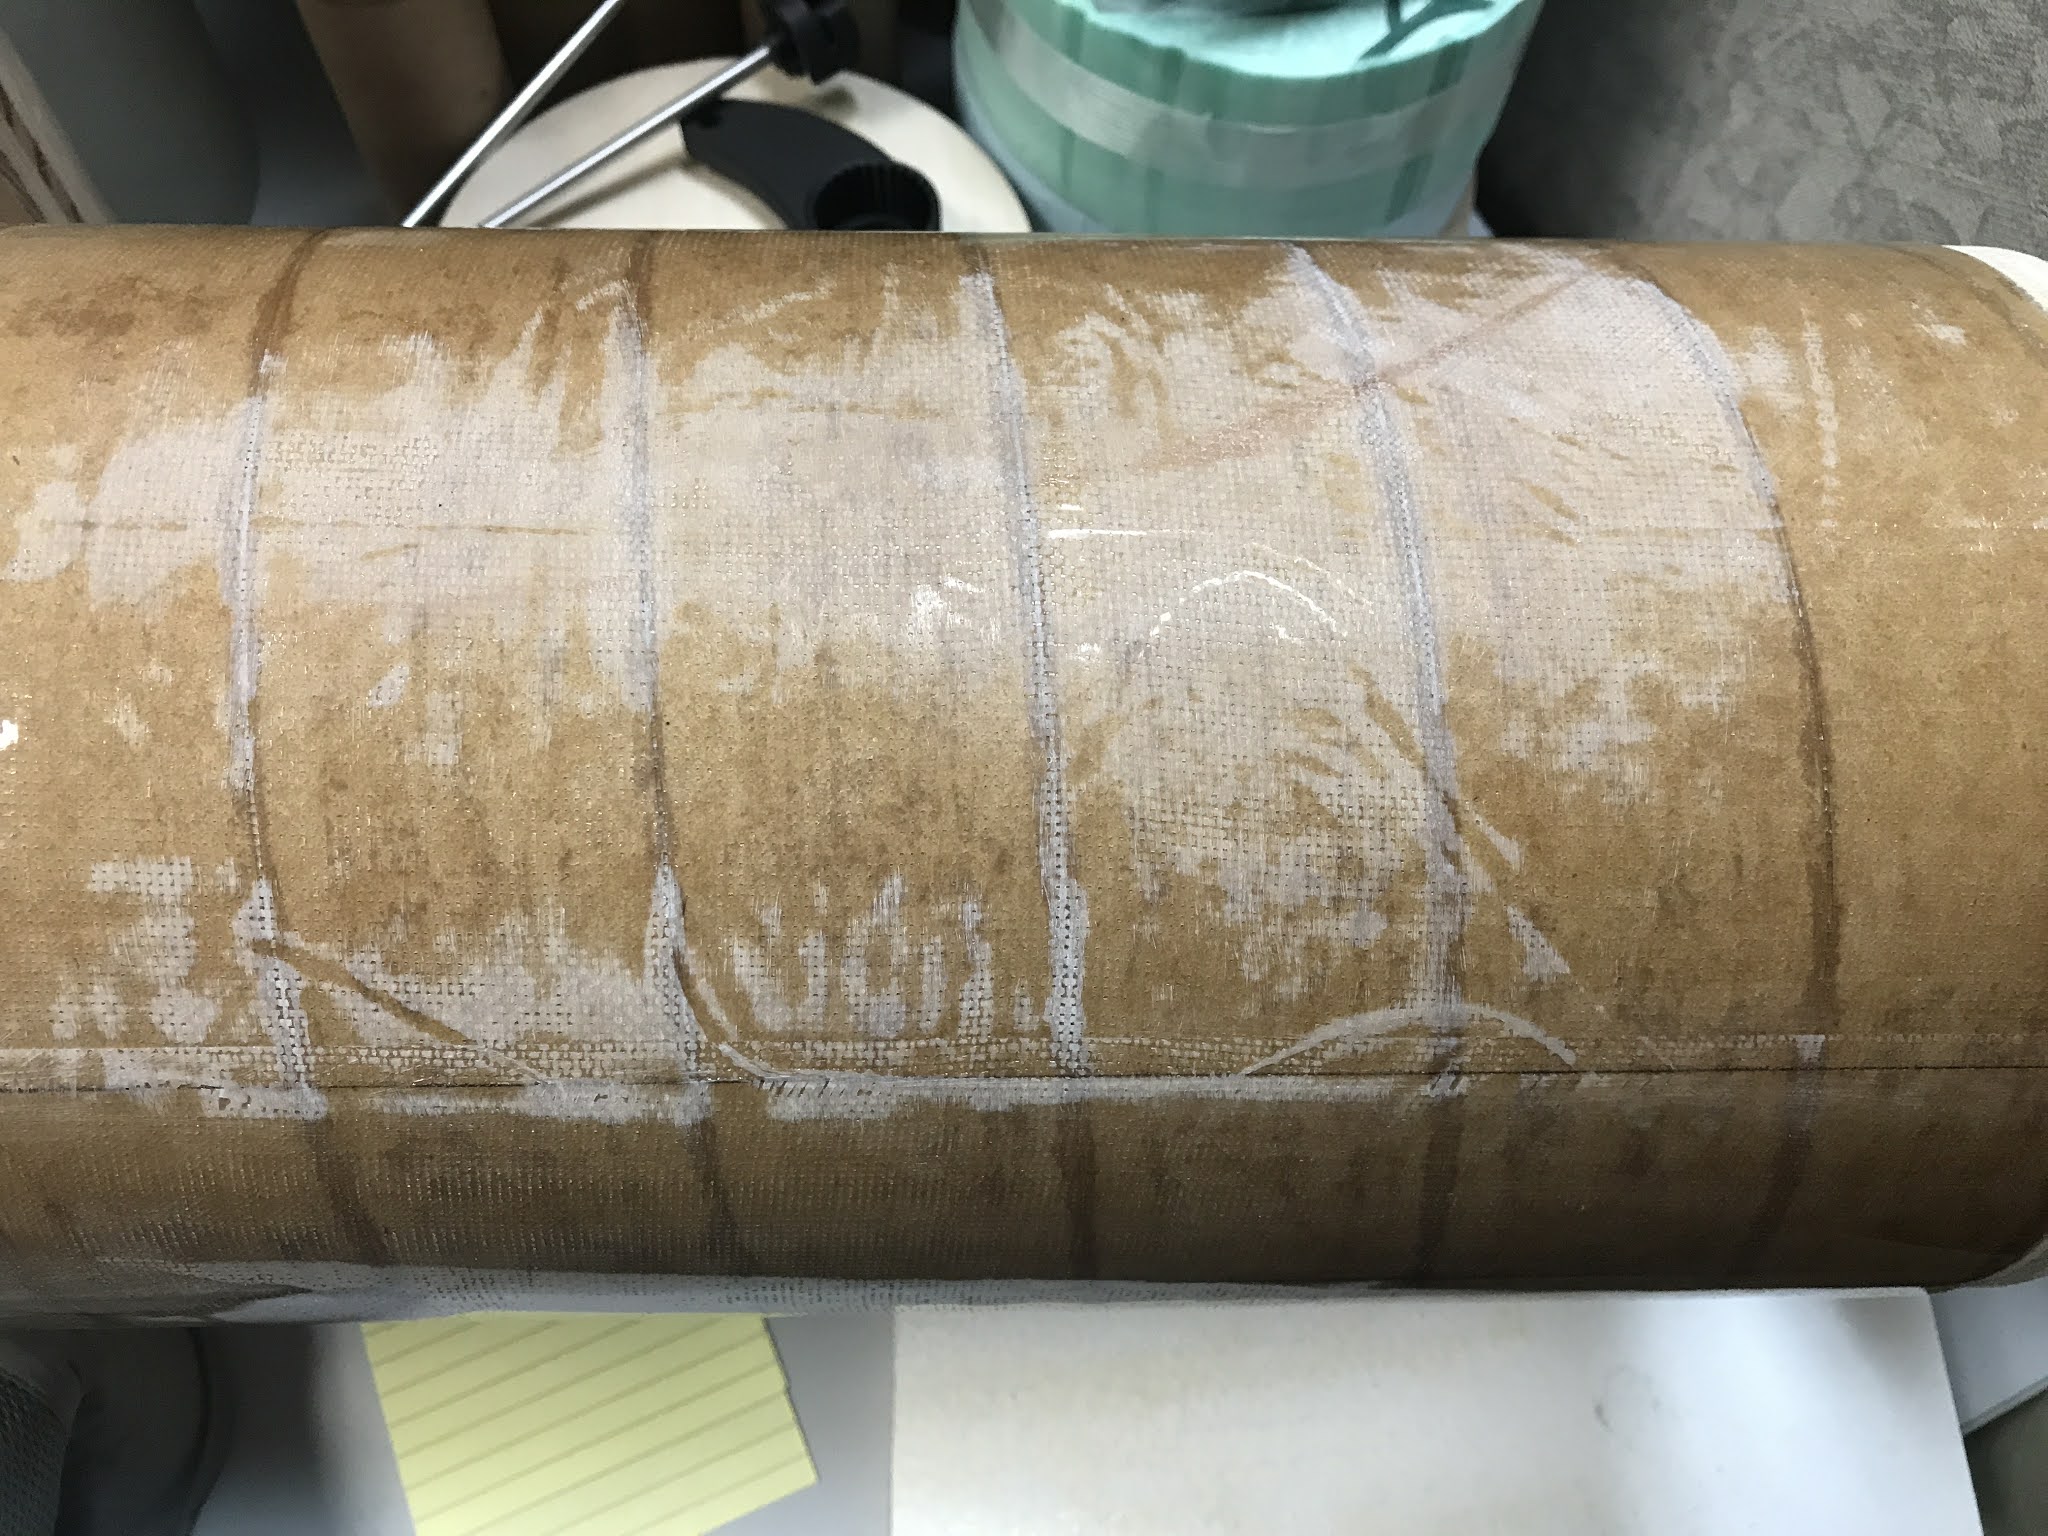 |
| Some Proper Sanding (with Sanding Block) The Filled Wrinkles Were Sanded Smooth at this Point. |