Monday, November 28, 2011

Rubicon's 1st Flight and Crash

LAUNCH VIDEO

The "up" part of the Rubicon's flight was perfect, reaching an altitude of 856 feet. Unfortunately, the drogue parachute got severely burned and did not open. An open drogue would have been necessary to pull the main parachute out to slow the rocket sufficiently for a safe landing. The following pictures sum up the preparation and landing pretty well I think. I am just very relieved that all the electronics survived the crash. It was a fun project but I will not be rebuilding this one. That just means it's time for a new project.


All 3 outboard igniters installed. Still have to be secured.

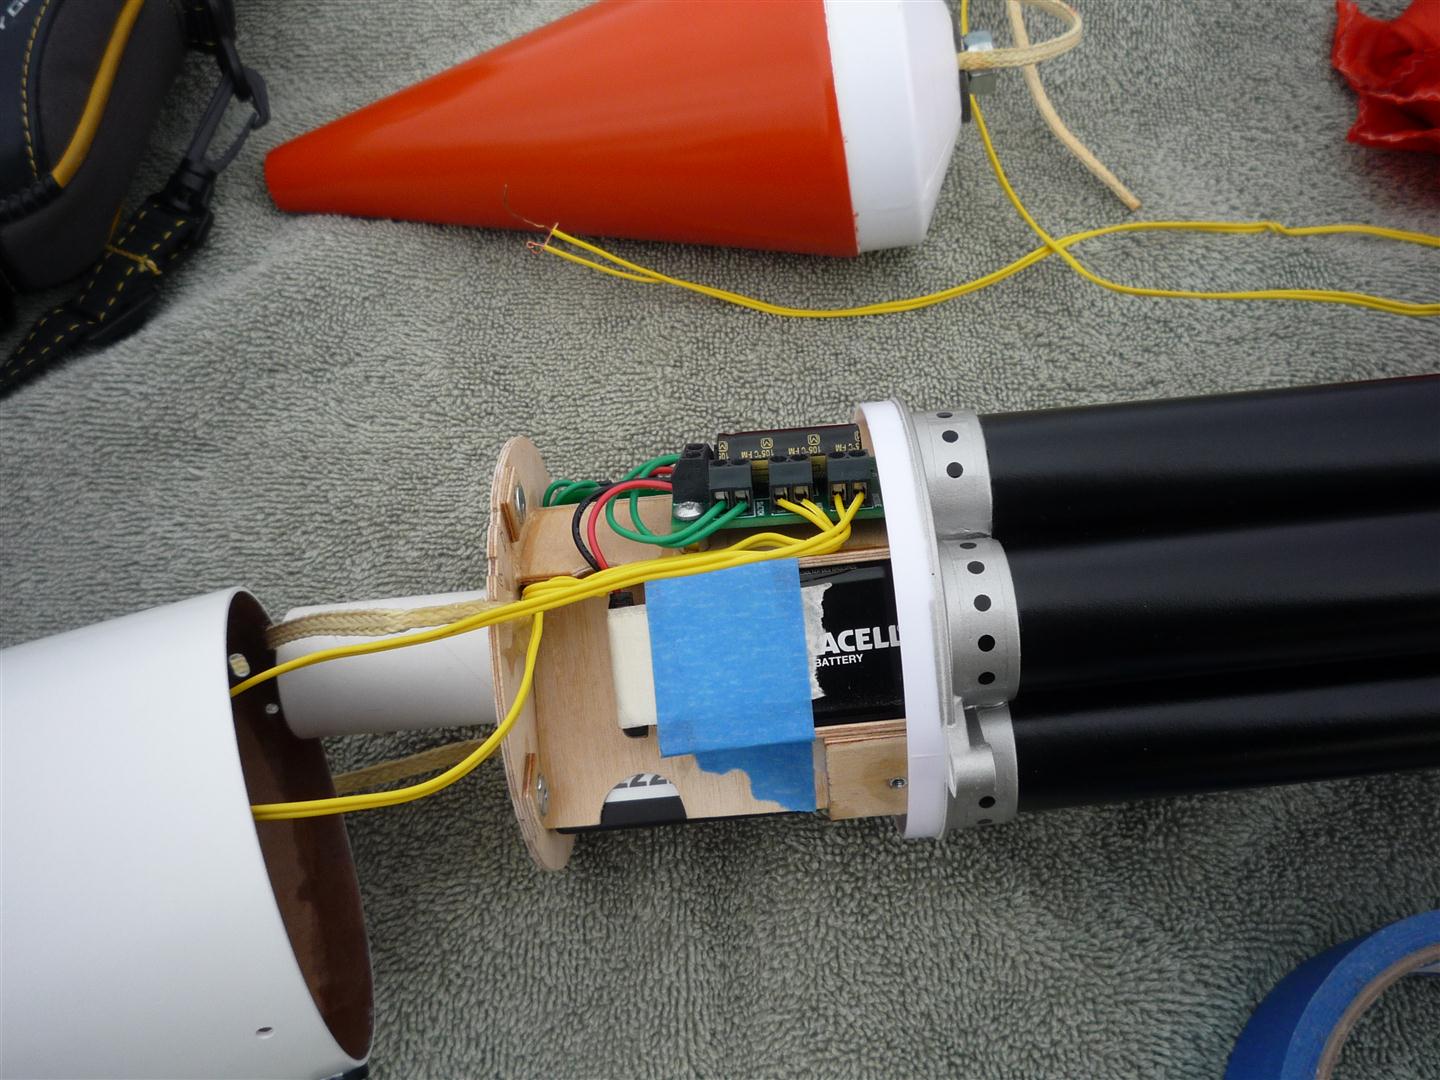
Wiring is secure and the rocket is ready to go to the pad.

Ready for launch.

The crash site. Look close and you can see the rocket to the left of the road.

Note the tightly melted together drogue parachute on the ground.


At least all engines lit and those annoying fins survived.

Shattered nose cone. It had about 8 ounces of weight in it for stability so it hit very hard.

The "core sample" as it's called.


Wednesday, November 23, 2011

Rubicon Is Ready for Its First Flight

The Rubicon is finally finished, just in time for the Black Friday weekend sport launch with the newly established club URRG. The first flight will be on an Aerotech F35W reload and 3 Estes E9s. The F35W will get it moving nice and slow off the pad and should take it to about 300 feet. At approximately 2 seconds into the flight, right at the burnout of the F35W, the timer will ignite the 3 E9s to continue a gentle boost for another 3 seconds. Apogee should be somewhere in the 800 to 1200 foot range.

I used both Krylon and Rustoleum white spray primers and the entire model is finished by airbrushing Model Master/ Testors acrylic paints. As usual, I did hours of filling with Elmers wood filler and sanding to fill any imperfections in the spirals of the tubes.


The fins are scratch built with 1/16" ply and fiberglassed on both sides. Here, they are layered in wood filler and ready for sanding.


This is what the fins looked like after many coats of primer, wood filler, and sanding.

I mounted the fins using 3mm hardware with button heads.

Everything was ready for paint in this picture.


Painted and stickered.

I fabricated these to mimic the fin mounting tabs on the opposite sides of the fins. They are .100" Polystyrene.

(The masking tape is still in place from painting the silver)